Setting Up The Kwik-Lift
Step 1, Lay out Kwiklift ramp sections as shown. Open side facing up.
Note, Spring Loaded Lock Pins on Rear Ramps should be toward the inside.
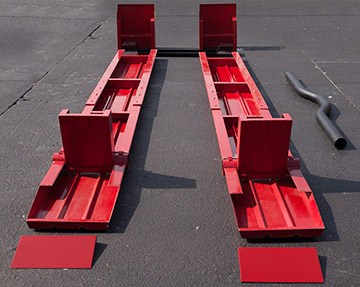
Step 1
Step 2, Slide front and rear ramp section together to desired length aligning 4 holes. (three lengths available)
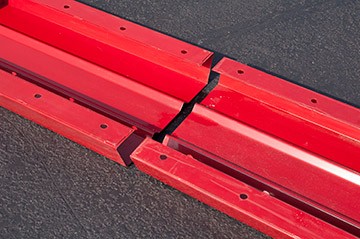
Step 2
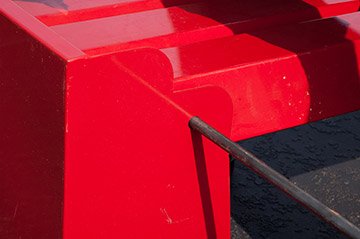
Step 3, Bolt ramps together using 4 bolts, 8
washers and 4 nuts. Tighten. Repeat process for the other side.

Step 3
Step 4, flip assembled sections over and lift ramp at front. Position front leg under ramp. Ramp will rest on support shelf.
Note: Spring loaded lock pins on rear ramps should be toward the outside.

Step 4
Step 5, Install hinge rod through front leg and front ramp and secure with clip. Repeat for other side.
Step 5
Step 6, Having rotated legs to down position by pulling the locking pins, slide Lift Tube into assembled Ramp Sections (now bolted together and open side facing down). Apply grease to inside of Ramp Tube.
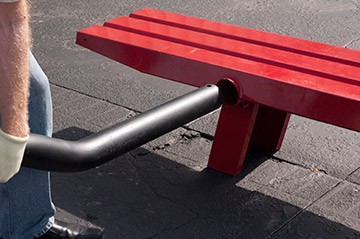
Step 6
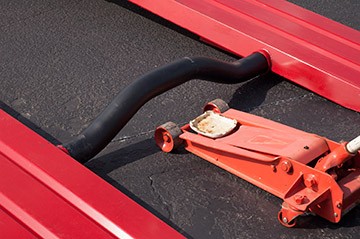
Step 7, Place floor jack under center of Lift Tube and raise slightly. Then rotate legs to up position until pin engages.

Step 7
Step 8, Slowly lower Kwik-lift to the ground with the floor jack under center of Lift Tube. Now you’re ready to place the small ramps at the end of the Kwik-lift.